 Skip to content
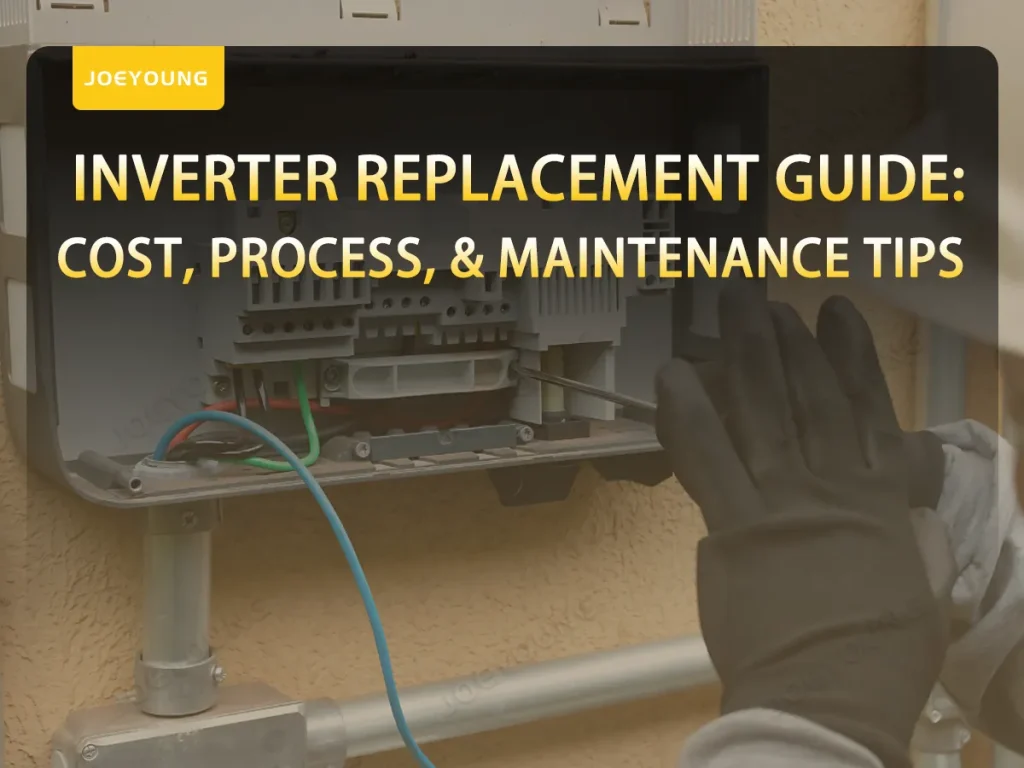
Renewable and sustainable energy sources are one way to realize an environmentally friendly lifestyle in this era.
One of the most popular options is solar power solutions. The inverter is critical in providing power by converting DC to AC to run devices and appliances supporting human life.
In its use over time, inverters may fail due to wear and tear, age, or improper usage. Understanding inverter replacement is an essential investment of knowledge to maintain your electrical system’s performance, safety, and efficiency. You can save time and money and ensure your system runs reliably with the correct information.

Understanding Inverter Replacement Costs
Solar inverter replacement cost refers to the total expense of replacing a faulty or outdated inverter with a new one. This cost can vary significantly depending on several factors. Below are the key elements that make up the inverter replacement cost.
Factors Affecting Costs
The first thing to consider is the factors that can affect the cost. It starts with the type of inverter. Pure sine wave inverters are more expensive than modified sine wave models. For more detailed information, see pure sine wave vs. modified sine wave.
Then, there are the capacity requirements. A larger wattage and higher capacity inverter cost more. Next, there is the brand and quality. Reputable manufacturers often have higher price tags.
Cost Range for Inverter Replacement
Inverter replacement has three cost ranges: the basic inverter costs $100-$300 for smaller or modified sine wave units, the mid-range inverter replacement costs $300-$800 for medium-capacity pure sine wave units, and the High-end inverter costs $1000-$3000 or more for advanced models with higher wattage and additional features.
Additional Expenses to Consider
Other things to consider are labour and installation, which can cost $100-$500, depending on the system’s complexity. Peripheral Upgrades include wiring, new batteries, or accessories like monitoring systems. Lastly, disposal fees are essential because some local regulations require proper recycling or disposal of old inverters.
The Replacement Process
Step 1: Assessing the Need for Replacement
Before replacing an inverter, recognize the signs, including frequent shutdowns or power interruptions, reduced efficiency or inconsistent performance, or visible damage or burnt components.
Step 2: Choosing the Right Replacement
Choosing the right replacement is similar to selecting the best inverter for your needs. It starts by determining the power needs, checking the inverter’s compatibility to ensure it works with the existing system, and considering features such as remote control, safety features, or integrated charging for added convenience.
Step 3: Removing the Old Inverter
When everything is ready, you can start removing the old inverter. Turn off all the power sources and disconnect the inverter from batteries or solar panels. Wear protective gear to prevent accidental shocks, then carefully unscrew and remove all wiring connections.
Step 4: Installing the New Inverter
After the old inverter has been removed, you can start installing the new one by positioning and mounting the inverter securely.
Always follow the manufacturer’s wiring diagram to connect batteries and auxiliary devices. So, when all the connections are verified, you can test the system.
Read about inverter installation for detailed information.
Step 5: Testing the New Inverter
First, you can take the initial test by powering the inverter and checking for error indicators. Then, you can connect your devices to ensure they receive stable power individually. Last, Troubleshoot any installation issues promptly.
Maintenance Tips for Longevity
Proper maintenance of your inverter is an important step to ensure its reliable, efficient, and durable performance. Below are a series of tips for maintaining inverters.
Periodically remove the dust.
The basic step in maintaining an inverter is cleaning it regularly. Dust and dirt build-up can cause overheating. Use a soft cloth or small brush to clean the surfaces and vents, and avoid using chemical liquids to preserve the inverter’s internal components. Clean the inverter in the off-state.
Checking the cable connections.
Ensure the cable connections are in good condition, as loose or corroded connections may cause damage. Use an electrical lubricant to prevent corrosion.
Monitoring electrical load & managing operational temperature.
Overloading or using power that exceeds the inverter’s capacity can damage its internal components. Moreover, while operating, the inverter also generates heat. So, it is advisable to use the inverter within its capacity and store it in a place with good circulation to prevent overheating.
Monitor and maintain the connected batteries.
The condition of the batteries connected to the inverter also significantly affects its performance. Ensure the battery is always in good condition by regularly checking the voltage using a multimeter. Do not allow the battery to overcharge or undercharge, as it can overload the inverter. Replace batteries that are no longer efficient.
Updating firmware and Always following the Guide.
For modern inverters, update the firmware regularly if available. Manufacturers usually provide these updates to improve performance or fix bugs. Always follow the usage guidelines provided.
Turn off the inverter when not in use.
If the inverter will not be used for a long time, such as during winter, turn it off and unplug. Be sure to keep the batteries maintained to prevent total discharge of the batteries. When storing the inverter, avoid stacking heavy objects to prevent physical damage to the inverter.
Schedule Proffesional Check-Ups.
Schedule a professional check-up every year to detect potential problems early.
Conclusion
Inverter replacement is vital to ensure your renewable power system functions optimally. The process requires understanding the signs of inverter failure, proper selection, and installation steps. Performing proper maintenance and following manufacturers’ guidelines can ensure maximum performance.
Enhance your power system’s efficiency, stability, and durability by choosing inverter products from trusted inverter manufacturers.
Frequently asked questions
Yes, if you’re familiar with electrical systems and follow safety precautions. Otherwise, hire a professional.
Yes, upgrading to a higher-capacity inverter is possible and often recommended if your power needs have increased. Ensure the new inverter is compatible with your existing system, including batteries and wiring, and consider any additional costs for system upgrades.
Inverters generally last 8–10 years, depending on usage and maintenance.
Not always, but it’s advisable to check the condition of your batteries during inverter replacement. Old or degraded batteries can reduce the efficiency of a new inverter and may lead to premature wear. Replace batteries if they show swelling, corrosion, or reduced charge capacity.
For most setups, replacing an inverter can take 1–3 hours, depending on the system's complexity and whether professional installation is required. Larger systems with extensive wiring or integration with solar panels may take longer.

Proper use of an inverter can optimise functionality, avoid energy loss, and extend lifespan. In this article, you will learn how to use an inverter and other related information you need.

An essential factor in supporting the solar power system’s effectiveness and efficiency in its usage is the inverter. What is an Inverter? How long does an inverter last? What factors can affect the life of my inverter? This article contains the information you are looking for.

Below are the common solar inverter failure causes and ways to avoid them — Poor inverter ventilation, Inverter grid fault, faulty inverter MPPT, Inverter capacitor failure, Excess humidity, Poor inverter maintenance.
Authors
-

Passionate to education and renewables energy make me enthusiast about making complex technologies accessible to everyone by translating it into a practical and easy to understand. Let's learn and grow together!
View all posts
-

hi I am Jim, an inverter specialist with over 10 years of experience. I previously worked as an R&D engineer at a leading energy company, focusing on inverter design, optimization, and system integration. I have been involved in the development of key technologies and gained comprehensive expertise in both technical innovation and practical applications. Currently, I focus on professional writing to provide clear analysis and practical insights into inverter technology, contributing to its advancement and broader adoption in the industry.
View all posts
