 Skip to content
Choosing the 120V Inverter after knowing the answer to “What size of power inverter do I need?” is one of the best decisions you can make. In many regions, a 120V inverter voltage can be fitted with the standard household voltage appliances, such as kitchen gadgets, lighting, or other electrical devices.
Another advantage of choosing 120V is that the inverter can be easily connected to the household breaker panel with simplified inverter cables and wiring equipment, which you need if you use a higher voltage system.
But how to connect a 120V inverter to house? This article will guide you through the inverter installation process of a 120V inverter in your home, including preparation and key tips to ensure safety and efficiency.

Understanding 120V inverters
A 120V inverter is a device that is usually used in a residential solar system. The inverter has the leading role as a converter, converting the DC (direct current) into AC (alternating current) so that the power can be used to power all the house appliances.

Tools and Materials Required
Gathering the tools and materials for the installation process is crucial for smoothness and efficiency.
Tools:
- Wire cutters and strippers
- Screwdrivers
- Multimeter
- Wrenches
- Drill
- Electrical tape
Material:
- 120V inverter
- Copper wires
- Connectors and terminal lugs
- Fuses or circuit breakers
Grounding rod
Preparation Steps
You can start the preparation process after gathering all the tools and materials.
The first thing to do is to ensure all the main electrical supplies in the house are turned off. This condition is crucial to avoid any risk of electrical shock or damage to the system during installation. Then, choose the most appropriate area to mount the inverter. It should be dry, well-ventilated, and avoid excessive heat or moisture.
In addition, it is recommended that you install a dedicated circuit breaker to protect your inverter. This can ensure the system is at its maximum safe isolation from the rest of the household circuits, preventing potential inverter failure or faults from affecting other appliances.
Last but not least, before beginning the connection process, make sure the wiring gauge is correct. AWG-10 is for DC connection, and AWG-12 is for AC.
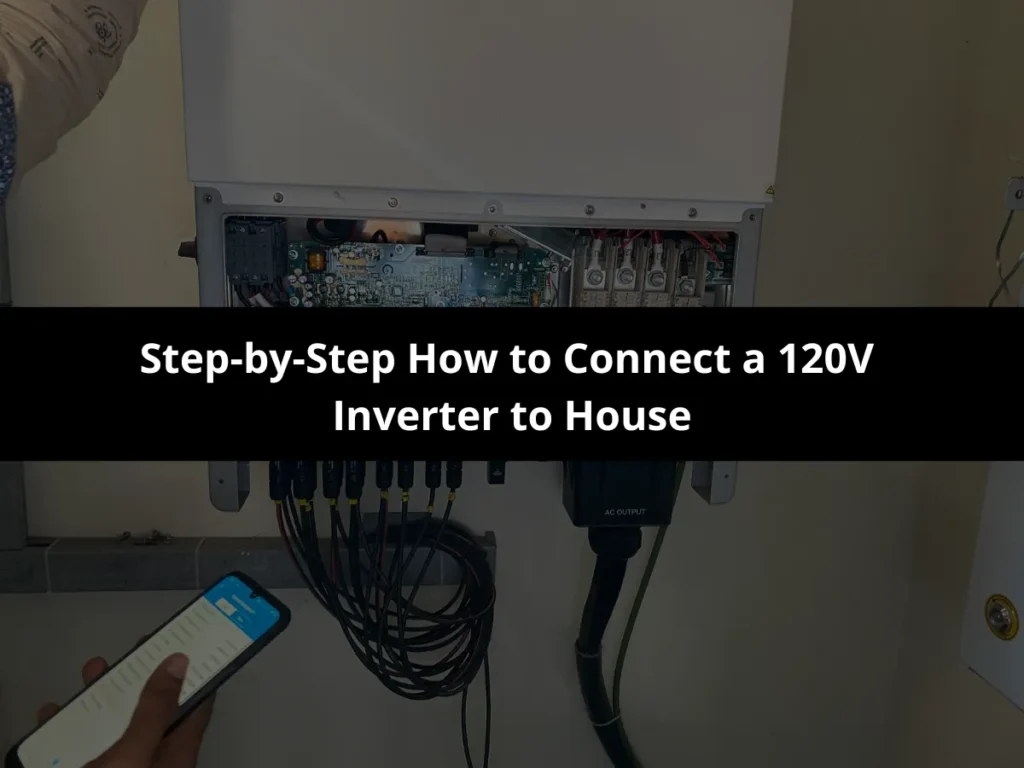
Step-by-Step How to Connect a 120V Inverter to House
Step 1: Mount the Inverter
Mount and secure the inverter to a wall or another stable surface using the mounting brackets provided by the manufacturer.
Step 2: Connect the DC Input
The first connection links the DC source (solar panels or batteries) to the inverter. Attach the positive and negative wires from the respective terminals on the inverter. You can use connectors that fit securely and make sure there is no exposed wire, which could lead to short circuits or damage.
Step 3: Connect the AC Output
The main circuit breaker panel typically connects the inverter’s AC output. Use the appropriate wire from the AC terminal to a dedicated breaker in the system. It is recommended that a new breaker be installed to avoid overloading existing circuits.
Step 4: Ground the Inverter
This step is essential to protect the inverter and your home’s electrical system. Use a grounding rod to safely direct any stray electrical and inverter current into the ground.
Step 5: Check for Proper Voltage
After connecting everything, use a multimeter to perform an inverter testing, including measuring the AC output from the inverter. Verify that the voltage reads approximately 120V. If you see any discrepancies, power off the system and double-check the wiring again.
Mistakes to Avoid
Installing a 120V inverter can be risky if we aren’t aware of these several mistakes to avoid:
- Ignoring Electrical Codes and Regulations
This is the first major mistake that can lead to unsafe conditions. Always check the local authorities or consult a licensed electrician to ensure your installation complies with local building and electrical codes. - Improper sizing of the Inverter
Choosing an inverter that is either too small or too large for the consumption can cause inefficiency or failure. The smaller inverter may not power all your needs, while an oversized inverter could lead to wasted energy. - Using Inadequate Wiring
This can lead to overheating, voltage drop, and even fire hazards. Choose the correct wire size based on the current rating and the distance between the inverter and the power source. - Skip the grounding process
Failing to ground the inverter properly can result in electrical shock risks and damage to the inverter and appliances. - Poor placement
Although built in a robust case, installing the inverter on an inappropriate surface and weather can reduce lifespan and efficiency. - Not monitoring the System performance
Ignoring the ongoing maintenance or failing to monitor the inverter’s performance via the built-in display or through a monitoring app can lead to unnoticed inefficiencies, poor power output, or system failure. - Failing to keep the Manual and Warranty Information
Losing the inverter’s manual or warranty information can make it hard to troubleshoot issues or take advantage of warranty services if something goes wrong.

Conclusion
After knowing how to connect the 120V inverter to house, it’s time to choose the best product from a trusted inverter manufacturer to enhance the energy efficiency significantly.
Joeyoung provides the ODM/OEM service so the products can be ensured in high quality until they reach the consumer’s hands.
Frequently asked questions
Calculate the total wattage of the devices you plan to power to determine the right inverter size. Add up the wattage of your appliances and select an inverter with a capacity that exceeds this total by 20-30% to accommodate power surges.
While some people may install a 120V inverter themselves, consulting or hiring a licensed electrician is highly recommended, especially for connecting to your home’s electrical system. This ensures compliance with electrical codes and guarantees a safe installation.
A 120V inverter can power selected appliances, but it may not be sufficient for an entire house, depending on the inverter's capacity. Consider using a larger inverter or a combination of inverters to power the entire house.
You can install a 120V inverter without a battery if you connect it directly to a power source like solar panels. However, without a battery, the inverter will only work when sufficient input power (like sunlight for solar).
Regular maintenance includes cleaning dust from the inverter, checking wiring for wear, and inspecting for error codes or warnings. It’s also a good idea to periodically test the inverter’s performance and ensure it still provides the correct voltage.

How to connect a 120V inverter to house? This article will guide you through the inverter installation process of a 120V inverter in your home, including preparation and key tips to ensure safety and efficiency.
Regarding solar power utilisation, several inverter types may be an option, but what is a string inverter? Why can it be the perfect match to optimize the solar systems? This article will give you the information that you need.

This article will dive into the role of IGBT and MOSFET inverters, the pros and cons, and each distinct characteristic.
Authors
-

Passionate to education and renewables energy make me enthusiast about making complex technologies accessible to everyone by translating it into a practical and easy to understand. Let's learn and grow together!
View all posts
-

hi I am Jim, an inverter specialist with over 10 years of experience. I previously worked as an R&D engineer at a leading energy company, focusing on inverter design, optimization, and system integration. I have been involved in the development of key technologies and gained comprehensive expertise in both technical innovation and practical applications. Currently, I focus on professional writing to provide clear analysis and practical insights into inverter technology, contributing to its advancement and broader adoption in the industry.
View all posts
